SEP 11, 2024
Detached Mode: Log metrics in Determined for workloads run anywhere


September 11, 2023
We are pleased to announce Detached Mode, a new way to log metrics in Determined for workloads run anywhere!
Determined has extensive capabilities around distributed training, hyperparameter tuning, experiment tracking, resource management etc. to supercharge model development and training. However, a limitation in tracking experiments and other workloads has been the requirement for them to be submitted to and launched by Determined. Thus, users could only track those experiments whose execution was managed by Determined. We are removing this limitation with Detached Mode, allowing users to run their workloads anywhere and submit metrics associated with them to Determined. Since Determined is open source and has various self-managed flavors of deployment (local, on-prem and cloud), users continue to maintain full control of their workload-associated metrics and metadata.
In this blog post, we will introduce Detached Mode and go through examples of how to use it to track custom workloads.
What can I do with Detached Mode?
-
Run custom workflows and track metrics in Determined: Previously, all metrics for a trial had to be reported from a single experiment submitted to Determined. Now, these can be reported from multiple jobs. For instance, users can utilize a DAG library of their choice, run validation workflows downstream of training in Determined, and log the metrics associated with those workloads in Determined, so they can visualize them next to their training workloads in a single place.
-
Use the workload manager fit for purpose, and track metrics in Determined: Users can execute their workloads whereever is most suitable for them. Previously, Determined had to manage the workload in order to track it. Now with Detached Mode, users can execute their workloads whereever is most suitable for them. For example, users can run hyperparameter search on Ray clusters using the Ray Tune framework, and register their metrics to Determined.
-
Track experiments using Determined Notebooks: While Determined had native support for Jupyter Notebooks, one had to submit experiments to the Determined master to track their experiments from notebooks. With Detached Mode, users are able to invoke methods to register their metrics in a cell, and execute those cells iteratively. This enables them to use Determined’s experiment tracking, while enjoying a REPL-like model development experience inside Determined’s Jupyter Notebooks.
-
Transition seamlessly from unmanaged to managed workloads: Users can use Detached Mode to try out Determined’s experiment tracking and visualization features. Once they’re ready to take advantage of more advanced training functionality, like distributed training, hyperparameter search, and resource management, they can easily migrate to submitting workloads to Determined. This migration requires no changes to the experiment tracking code, and the addition of just one yaml configuration file. This is illustrated further in the examples below.
Introducing Detached Mode
Detached Mode is built upon our existing Core API and allows you to 1) create a trial and register metrics to it with a singleton method call, 2) continue a trial by sending metrics to an existing trial, and 3) save and load sharded checkpoints. Essentially, we make available all the features Determined offers that don’t require Determined to manage your workload, including experiment tracking and distributed checkpointing.
Below we will walk through examples of how to set up Detached Mode to create trials and register metrics to those trials, save and load state from checkpoints, and use distributed training with sharded checkpointing.
Example 1: Simple Metrics Reporting
First, upgrade your CLI to the latest version:
pip install --upgrade determined
Next, create a Determined cluster. Just the master is sufficient, since that receives our metrics and contains the web server to visualize them. If you don’t already have a Determined cluster, you can deploy one locally or in various cloud and on-prem cluster configurations as outlined here.
Now we move to our training code where the first step is for us to import the core_v2 api:
import random
from determined.experimental import core_v2
Now we will initialize the core context to create the trial with some identifying metadata in the main function:
def main():
    # Initialize the trial / session
    core_v2.init(
        defaults=core_v2.DefaultConfig(
            name="detached_mode_example",
        ),
    )
Then, in our main function we report some simple trial and validation metrics (here, just a random number between 0 and 1) to our above initialized trial:
    for i in range(100):
        # Report training metrics to the trial initialized above
        core_v2.train.report_training_metrics(steps_completed=i, metrics={"loss": random.random()})

        # Report validation metrics every 10 steps
        if (i + 1) % 10 == 0:
            loss = random.random()
            # Log validation loss to stdout
            print(f"validation loss is: {loss}")
            core_v2.train.report_validation_metrics(
                steps_completed=i, metrics={"loss": loss}
            )

    core_v2.close()


if __name__ == "__main__":
    main()
Finally, we set the Determined master address in an environment variable in our shell and execute our training code:
export DET_MASTER=<DET_MASTER_IP:PORT>
python3 <my_training_script.py>
You can now navigate to <DET_MASTER_IP:PORT> in your web browser and visualize the trial in a view like the below:
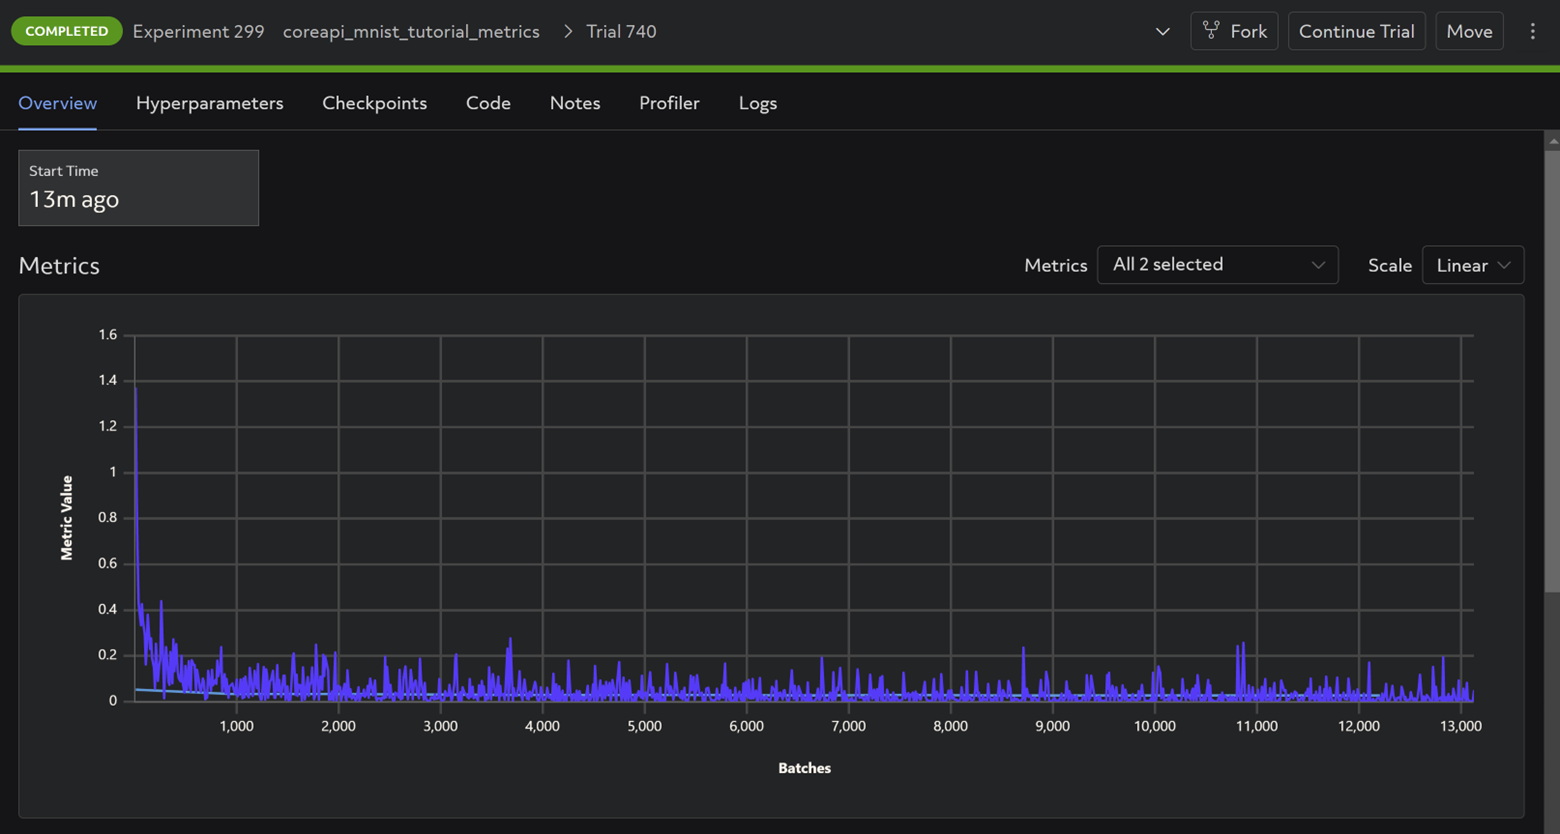
The full script can be found here.
Example 2: Save and load state using checkpoints
We make the following additions to our main function.
First we specify the checkpoint storage path in the core context initialization. We also provide an optional external experiment and trial id to identify which artifact we need to log metrics to when recovering from failure:
def main():
    core_v2.init(
        # For managed experiments, `DefaultConfig` will be overridden by the yaml config.
        defaults=core_v2.DefaultConfig(
            name="unmanaged-2-checkpoints",
            # We allow configuring the local checkpoint storage directory.
            checkpoint_storage="/path/to/checkpoint",
        ),
        # `UnmanagedConfig` values will not get merged, and will only be used in the unmanaged mode.
        unmanaged=core_v2.UnmanagedConfig(
            # Providing an experiment id and trial id allows "continuing" submitting
            # metrics to the same artifact in Determined eg. when recovering from a failure
            external_experiment_id="my-existing-experiment",
            external_trial_id="my-existing-trial",
        )
    )
Now we load the checkpoint:
    # fetch the latest checkpoint
    latest_checkpoint = core_v2.info.latest_checkpoint
    initial_i = 0
    if latest_checkpoint is not None:
        with core_v2.checkpoint.restore_path(latest_checkpoint) as path:
            # load the checkpoint file
            with (path / "state").open() as fin:
                ckpt = fin.read()
                i_str, _ = ckpt.split(",")
                initial_i = int(i_str)
Then we resume sending metrics to the trial from the last step in the checkpoint:
    # start logging metrics to the trial after the last step in the loaded checkpoint
    for i in range(initial_i, initial_i + 100):
        loss = random.random()
        print(f"training loss is: {loss}")
        core_v2.train.report_training_metrics(steps_completed=i, metrics={"loss": loss})
We also save a new checkpoint every 10 steps:
    # save checkpoint every 10th step
        if (i + 1) % 10 == 0:
            with core_v2.checkpoint.store_path({"steps_completed": i}) as (path, uuid):
                with (path / "state").open("w") as fout:
                    fout.write(f"{i},{loss}")

    core_v2.close()
Run the training code and visualize in the Web UI as shown in Step 1.
The full script can be found here.
Example 3: Use distributed training with sharded checkpointing
In this example we will use torch distributed for distributed training.
We import some additional functions in our training script:
import logging

import torch.distributed as dist

import determined
import determined.core
from determined.experimental import core_v2
We then initialize our communications library and distributed context which is passed to the core context:
def main():
    dist.init_process_group("gloo")
    distributed = core_v2.DistributedContext.from_torch_distributed()
    core_v2.init(
        defaults=core_v2.DefaultConfig(
            name="unmanaged-3-torch-distributed",
        ),
        distributed=distributed,
    )
We shard our batches between the different processes and report training and validation metrics to the initialized trial, adding rank as a metric in addition to loss
    size = dist.get_world_size()
    for i in range(100):
        if i % size == dist.get_rank():
            core_v2.train.report_training_metrics(
                steps_completed=i,
                metrics={"loss": random.random(), "rank": dist.get_rank()},
            )
            if (i + 1) % 10 == 0:
                core_v2.train.report_validation_metrics(
                    steps_completed=i,
                    metrics={"loss": random.random(), "rank": dist.get_rank()},
                )
We then save sharded checkpoints as shown below:
        ckpt_metadata = {"steps_completed": i, f"rank_{dist.get_rank()}": "ok"}
        with core_v2.checkpoint.store_path(ckpt_metadata, shard=True) as (path, uuid):
            with (path / f"state_{dist.get_rank()}").open("w") as fout:
                fout.write(f"{i},{dist.get_rank()}")
We can also call a method (from the chief process) to get the address of the web server where our metrics will be sent, and then close the context as usual:
    if dist.get_rank() == 0:
        print(
            "See the experiment at:",
            core_v2.url_reverse_webui_exp_view(),
        )
    core_v2.close()
Thereafter we run the code with torch distributed and the appropriate arguments for cluster topology which includes number of nodes, processes per node, chief worker address and port etc.
python3 -m torch.distributed.run --nnodes=1 --nproc_per_node=2 \
 --master_addr 127.0.0.1 --master_port 29400 --max_restarts 0 \
 my_torch_disributed_script.py
The full script can be found here.
Example 4: Transition to managed Determined
We can take the above script and run it managed in Determined to take advantage of Determined’s distributed training and resource management functionality.
To do so, leave the code as is and create a yaml file as below:
name: unmanaged-3-torch-distributed
# Here we use Determined's torch distributed launcher and users do not need to specify the cluster topology like chief ip and port, nodes and processes per node. Determined takes care of that for you. One just needs to specify resource requirements in the yaml like resources.slots_per_trial below
entrypoint: >-
  python3 -m determined.launch.torch_distributed
  python3 3_torch_distributed.py

resources:
  slots_per_trial: 2

# Use the single-searcher to run just one instance of the training script
searcher:
   name: single
   # metric is required but it shouldn't hurt to ignore it at this point.
   metric: x
   # max_length is ignored if the training script ignores it.
   max_length: 1

max_restarts: 0
Then simply submit the experiment to Determined as normal from the directory with the model code:
det e create -m <MASTER_IP:PORT> exp_config_yaml .
Summary
Detached Mode provides a new lightweight way for users to utilize Determined’s experiment tracking functionality without needing to have their workloads be managed by Determined. It allows more iterative model development and allows users to track metrics for workloads no matter where they are run. Finally it also enables easy migration with minimal code modifications to managed Determined for more complex training use cases like HP tuning, resource management and distributed training.
To learn more about Detached Mode, please see the Detached Mode documentation, and our examples on GitHub. If you have any questions, please join our open-source community Slack channel! As always, we are here to support you and are open to your feedback.